Creating Your First Electrical Certificate With iCertifi
It’s easy to create an electrical certificate with iCertifi in just a few taps. Here we show you how
Setting Your Contractor Details
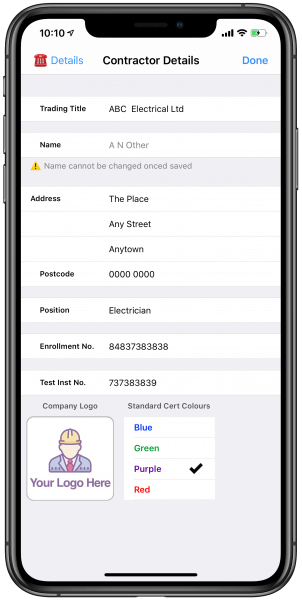
The first thing you will need to do is set up your company details. Tap the id badge from the home page of iCertifi to go to Contractor Details. Fill out relevant details and add your company logo if you want to. We advise using a large high-quality image saved from the web to your photos app for the logo. This could be off your companies homepage, for instance.
Tap the telephone icon ☎️ in the top left to add your contact details to electrical certificates.
Details entered in this section will automatically populate all your electrical certificates

Select Electrical Certificate
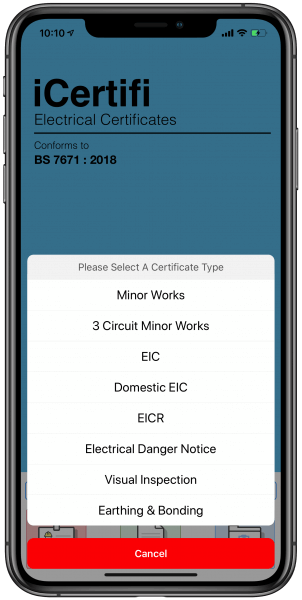
Tap the certificate button from the home page. You are presented with a list of certificates to choose from
- Minor Works, 3 Circuit Minor works
- EIC (Electrical Installation Certificate)
- Domestic EIC (Dometic Installation Certificate)
- EICR (Electrical Installation Condition Report)
- Electrical Danger Notice
- Visual Inspection Report
- Earthing and Bonding Certificate
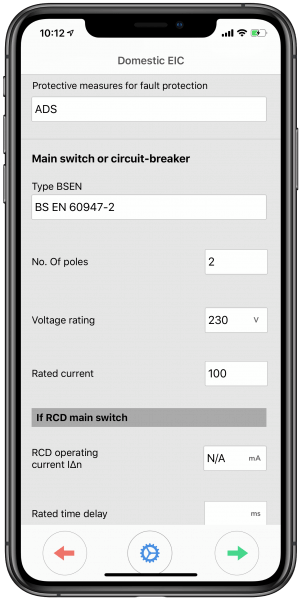
Tap the relevant row to start your electrical certificate. If you have a saved certificate of that type, iCertifi will ask you if you want to use that cert as a template for the new one. This copies everything except DB boards and testing results from the previous electrical certificate

